
One of the most common organizing struggles I hear from people is how to handle the overwhelming amount of paper in their homes or offices. Some clients are interested in going paperless (which I love and will write about in a future blog post), but oftentimes the first step for most people is just making sense of the papers that are currently cluttering their homes. Usually, once I start working with a client on organizing papers, I either find file drawers overstuffed with old outdated papers or I find that no filing system has ever been established. If you fall into one of these categories or somewhere in between, I can provide some guidance on how to get things organized once and for all.
Step 1: Determine Where Your Papers Should be Stored
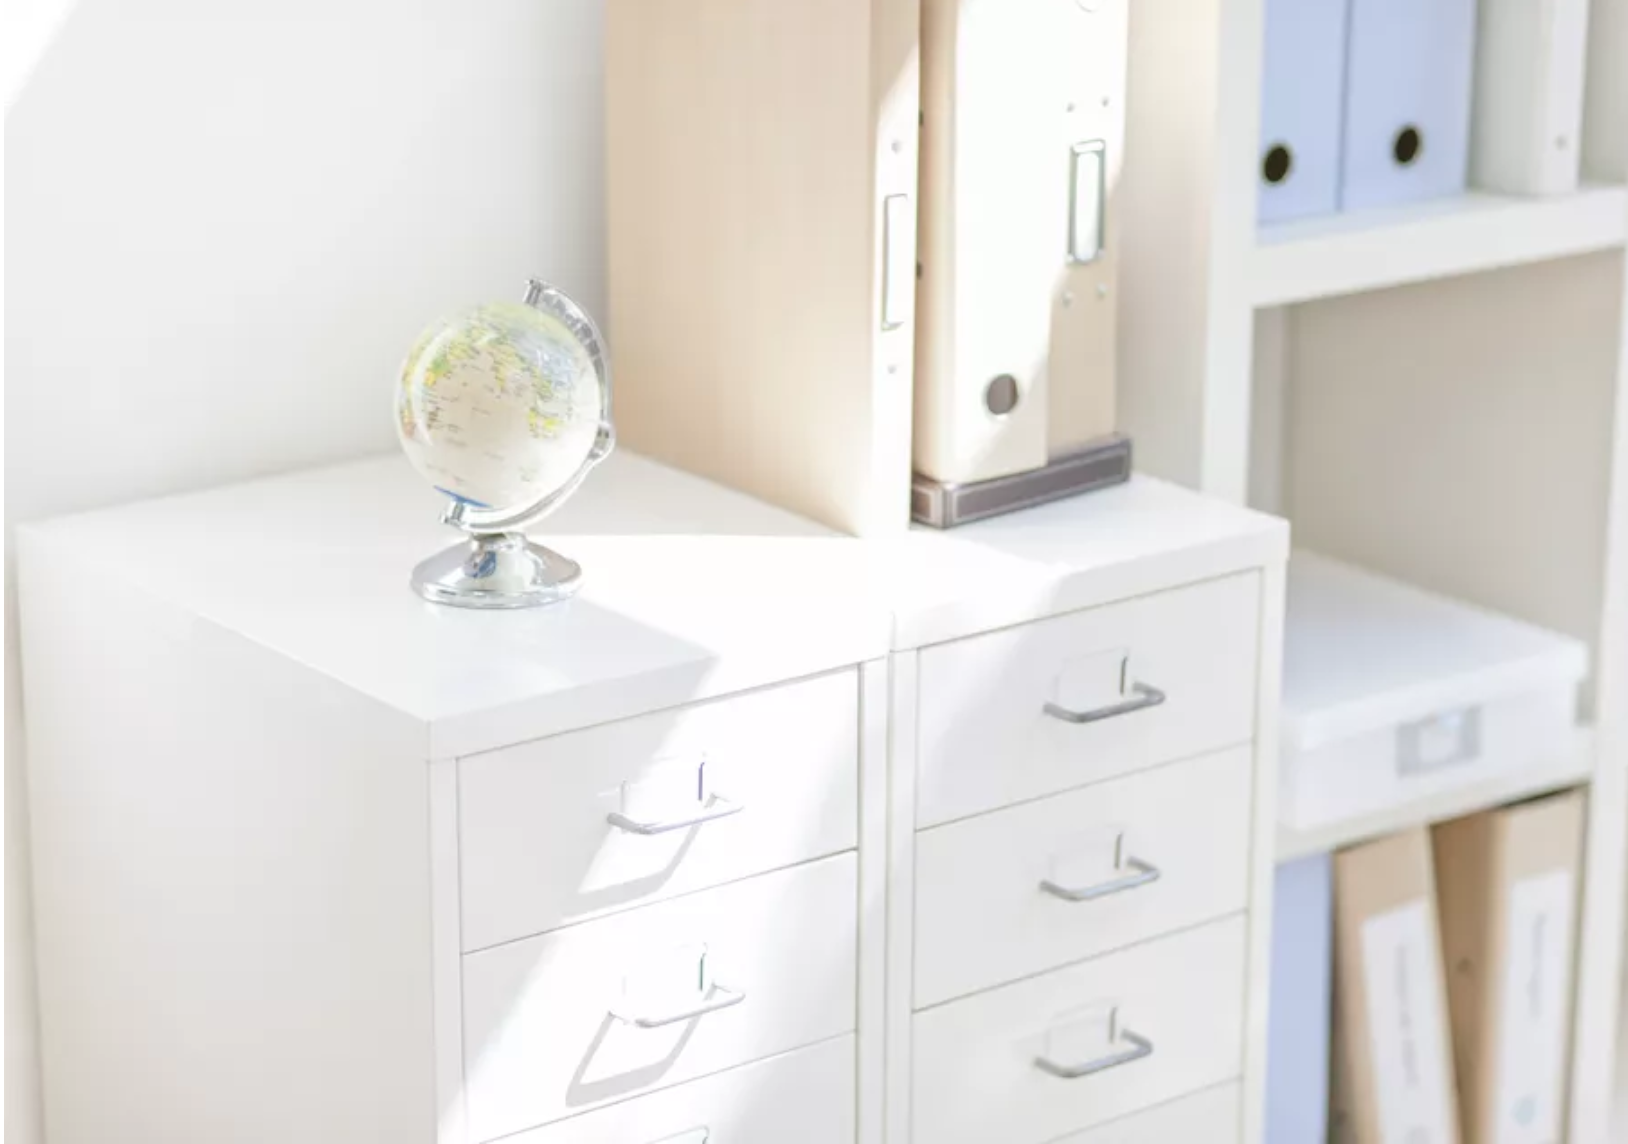
The first step of the organizing paper process is to determine where the best place to store all of your papers are. Do you have a dedicated home office or a desk somewhere that has file drawers? This could be a great place to store your papers. If you don’t have a home office or a desk is there a space on your main floor where you could fit a desk or a nice filing cabinet to store your papers? You may need to separate your papers and keep archival papers such as old tax returns, mementos, and other things you don’t regularly need access to in an out of the way place like the basement or a storage closet and keep the frequently needed papers in a more central location like the kitchen or filing cabinet on the main floor. If you truly can’t find a central place to keep your papers considering storing in a plastic file box in a closet or even a decorative file box in an easily accessible location.
Step 2: Purge Your Existing File System
If you have an existing file system located somewhere in your home go through those old files and get rid of anything that is old and outdated. Put a recycling bin and a shredder (or a box to collect shredding) nearby as you will need them. Some things that should be easy to shred or recycled include…
- Bank Statements: If you have access to your statements online through your bank you don’t need to keep the hard copies. Go ahead and shred and opt to stop receiving the paper statements. If you don’t have access to your online bank statements keep for one year.
- Credit Card Statements: Keep them for 60 days unless they include tax-related expenses. In these cases, keep them for seven years.
- House and Car Insurance Policies: Shred the old ones when you receive new policies.
- Pay Stubs: Match them to your W-2 and then shred.
- Receipts: Toss if you don’t plan to return the item or need the receipt for tax or insurance purposes.
- Tax Returns and Tax Receipts: Keep these on file for seven years.
- Utility bills: Hold on to them for a maximum of one year.
Step 3: Collect all your loose papers
Usually in a home, piles of papers tend to pop up in various locations such as the kitchen counter, a desk, the nightstand, the stairs, the dining room table, etc. Now that you know where your papers are to be stored walk around your house and gather all of your loose un-filed papers into that one location. Look inside drawers, cabinets, bags, purses, etc. to find where all the little papers are hiding so you can get a handle on it all. From this point forward make it a habit to get your papers to this new paper filing area ASAP. If needed add an inbox where papers can be corralled before they are sorted through and put in their proper home.
Step 4: Gather Filing Supplies
Now that we have all your organizing papers in one location, it’s time to create a new filing system or improve upon the one you currently have. You will need to gather a few supplies first…
- Hanging Files: I highly recommend purchasing hanging file folders in one color. I have seen many people try to color-code their file systems so that green files relate to finances, red to health, yellow for family, etc. however this color coding system nearly always complicates matters. Usually, you need more of one color than another, there are files that you aren’t sure what category they belong in, and inevitably you make things so much harder than they need to be so that you dread creating a new file. Just go with one color, it’s so much simpler.
- Post-It Notes: As we start creating new files we will use Post-it Notes as temporary file tabs. I will explain more shortly.
- 1/3 Cut (or 3 1/2”) File Tabs: Once we are ready to create permanent files I highly recommend using larger clear file tabs than the standard 1/5 cut (or 2” long) file tabs. Our goal is to make sure that it’s easy to read what each file name is and that there is enough space to include meaningful file names. Staples sells these hanging files with 1/3 cut tabs included but if you already have hanging files and just need larger tabs you can buy them separately here.
- Label Maker: If you really want to create a great filing system I highly recommend investing in a label maker like this one. There are many great models under $30 that have all the features you will need. Just make sure to purchase some extra label tape too.
Step 5: Sort & Label
One very important thing to note before you start sorting your papers is that papers you file away in a file drawer should be things you may want to reference at some point in the future. I do not recommend putting bills to be paid or forms you need to fill out for an upcoming appointment in a file drawer unless you have a foolproof system to remember where they are. If you have what I call “action papers” or “to-do’s” associated with any papers you come across set them aside into their own pile and we will revisit them once you are done setting up your filing system.
Now that we have all of our filing supplies and our papers in one spot we can start creating files. If you are starting your filing system from scratch here are just a few ideas of files you may need (of course fill in your own details unless you want to start a medical file for my 9-year-old son and I). The first thing I would recommend doing is writing these file names on the non-sticky end of a Post-it Note so that the sticky part is on the bottom and can be stuck to the front of a file folder basically creating a temporary file tab. Once you are done sorting all of your papers and are 100% sure that you want any particular file to feel free to use your label maker and the 1/3 cut file tabs to create a more permanent file label. I also recommend placing the file tabs on the hanging folders all the way to the left so that as any new files are created everything is in line and easy to read.
- Bills – PECO
- Bills – Sprint
- Insurance – Auto
- Insurance – Homeowners
- Medical – Dawn
- Medical – Logan
- Mementos – Dawn
- Mementos – Lee
- Taxes – 2019
- Taxes – 2020
So, do you see what we are doing here? In the example above I’ve used naming conventions to create files. The beauty of this system is that you can alphabetize your files yet still have groupings of things together such as bills, medical, taxes, etc. Of course, there are many other things you will need in your own filing system, but hopefully, this will give you some ideas on how you can create groupings. Once you have sorted all of your papers into categories and added the permanent file labels to the hanging file folders you now have a functioning reference filing system! Congratulations!
Step 6: Handling the Action Papers
Now you should have a pile of papers that require some sort of action on your part. You may have bills to pay, forms to fill out, things to read, etc. When working with clients I recommend a number of ways to sort these action papers and I will go in-depth on these in a future blog post. Just know that it usually is best to keep these action papers separate from your reference filing system in some way, and to have a reminder system such as a to-do list to capture any actionable items to make sure things don’t fall through the cracks. When storing actionable papers a few options I recommend include paper trays, plastic color-coded folders, binders with insertable dividers, and desktop file boxes. The biggest trick when dealing with actionable papers is to sort them based upon the next action you need to take as well as determining which things are urgent vs. what isn’t. Here are a few categories you can use to get you started…
- Urgent
- To Call
- To Pay
- To Fill Out
- Notes to Review
- To Read
- Non-Urgent
Step 7: Weed out & Maintain
Now you should have a great reference filing system as well as good idea of how to organize your actionable papers. Hopefully, the system you created seems easy enough to use so you feel motivated to keep up with it. Make sure you have extra hanging files, file tabs and your label maker handy in order to create new files as needed. In addition, try to make it a habit to weed out your files each year getting rid of old files as described in step one of this post. Also, remember that before you file something really think about if it’s necessary to keep. Ask yourself if you can get the information online or if it ever will be needed again.
I hope you felt that the steps above to create your own filing system made sense and that you feel motivated to get organizing papers. Life can be crazy and it’s hard to find the time or energy to do this all yourself. I am here to help you create your own filing system if you need it. If you’d like to talk feel free to call or text me at (267) 970-0769, send me an e-mail at dawn@dgorganizing.com or visit my website at www.dgorganizing.com. Until next time!


Your blog has been very helpful. I’m also looking for ways to organize our chest of drawers. (How to fold clothes so you can get more into the drawers). I’m also going to be sending you an email very soon about filing and sorting paperwork before beginning to file the papers. I’m new at filing and need your expert advice, I’ll explain more in my email. Thank you so much.
Jeffrey, thanks so much for your comment! I’m so happy to hear that my blog has been very helpful to you. Have you seen my Instagram page yet? On it I have a post that shows a way you can fold your clothes to get more in each drawer, it’s called “file folding”. The post can be seen at https://www.instagram.com/p/B8NWSfgJFeU/ Looking forward to getting your e-mail with questions. Also, if you’d like you can schedule a free phone consultation or an initial consultation by visiting https://calendly.com/dawngeorge/ so I can give you more personalized advice. Looking forward to being in touch soon!
You’ve written it so well, and you have some really good ideas. This post is outstanding!